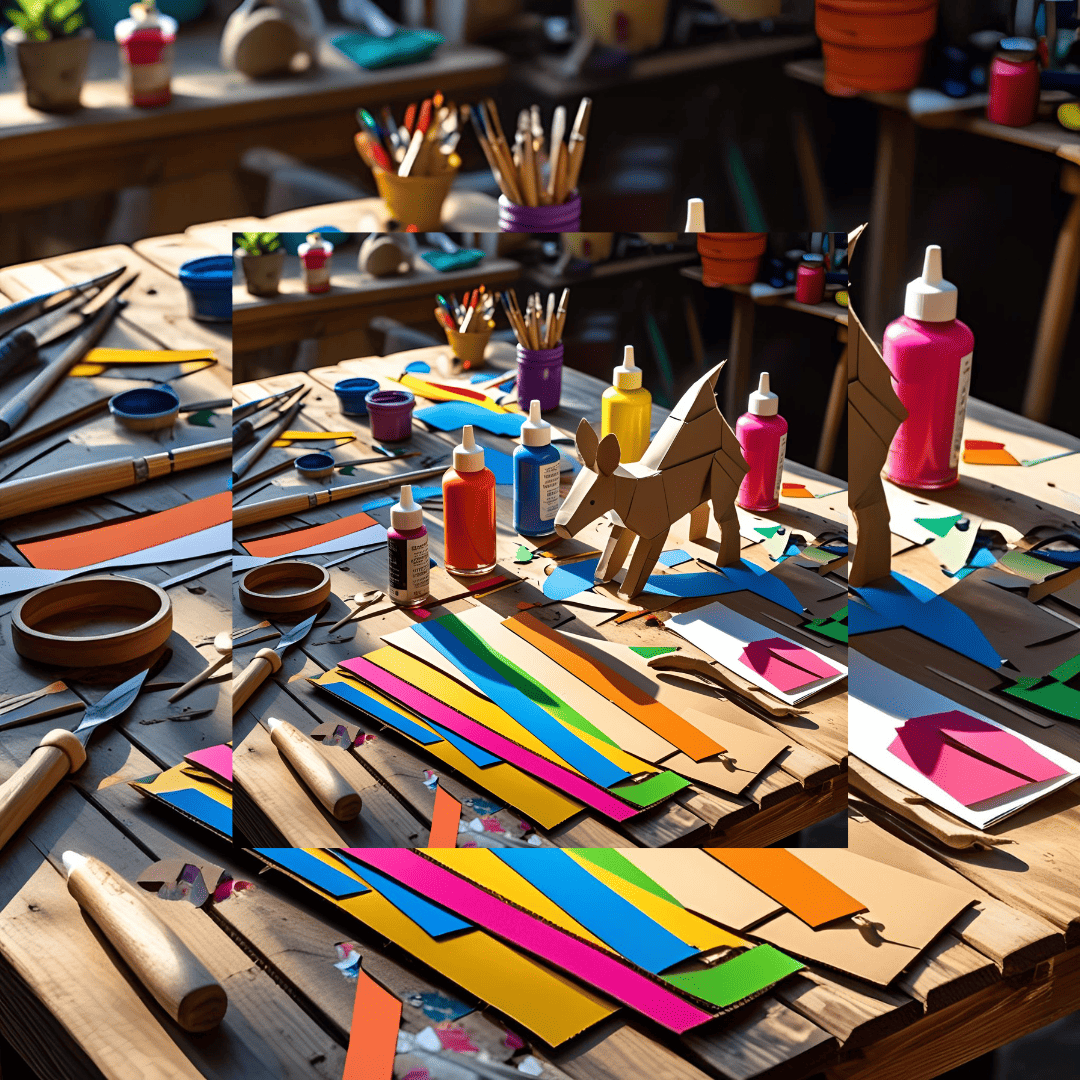
Creating cardboard sculptures at home is an amazing journey that combines creativity, sustainability, and a very affordable cost. Whether it’s for a relaxing hobby, an educational activity with kids, or even a unique form of artistic expression, cardboard is an incredibly versatile and easy-to-work-with material.
This ultimate guide is specially designed for beginners and brings everything you need to know to get started right now—safely, organized, and most importantly, with tips I learned through my own hands-on experience. Get ready to turn old boxes into works of art!
The Essential Cardboard Sculptor’s Kit: Must-Have Tools and Materials
Before getting hands-on, it’s crucial to gather the right materials. They will be the foundation for your sculpture’s success and make all the difference in the final result.
Types of Cardboard: Meet Your Allies
- Corrugated Cardboard: The most common, found in delivery and supermarket boxes. Perfect for the main structure of your sculptures, as it is lightweight and strong.
- Gray or Paraná Cardboard: Firmer and denser, with a smooth surface. Ideal for fine details and finishes that require more precision.
- White Cardboard (Duplex/Triplex): Has a more refined finish, usually with one white side. Excellent for visible surfaces or when you want a smoother look before painting.
Essential Tools: Your Best Friends
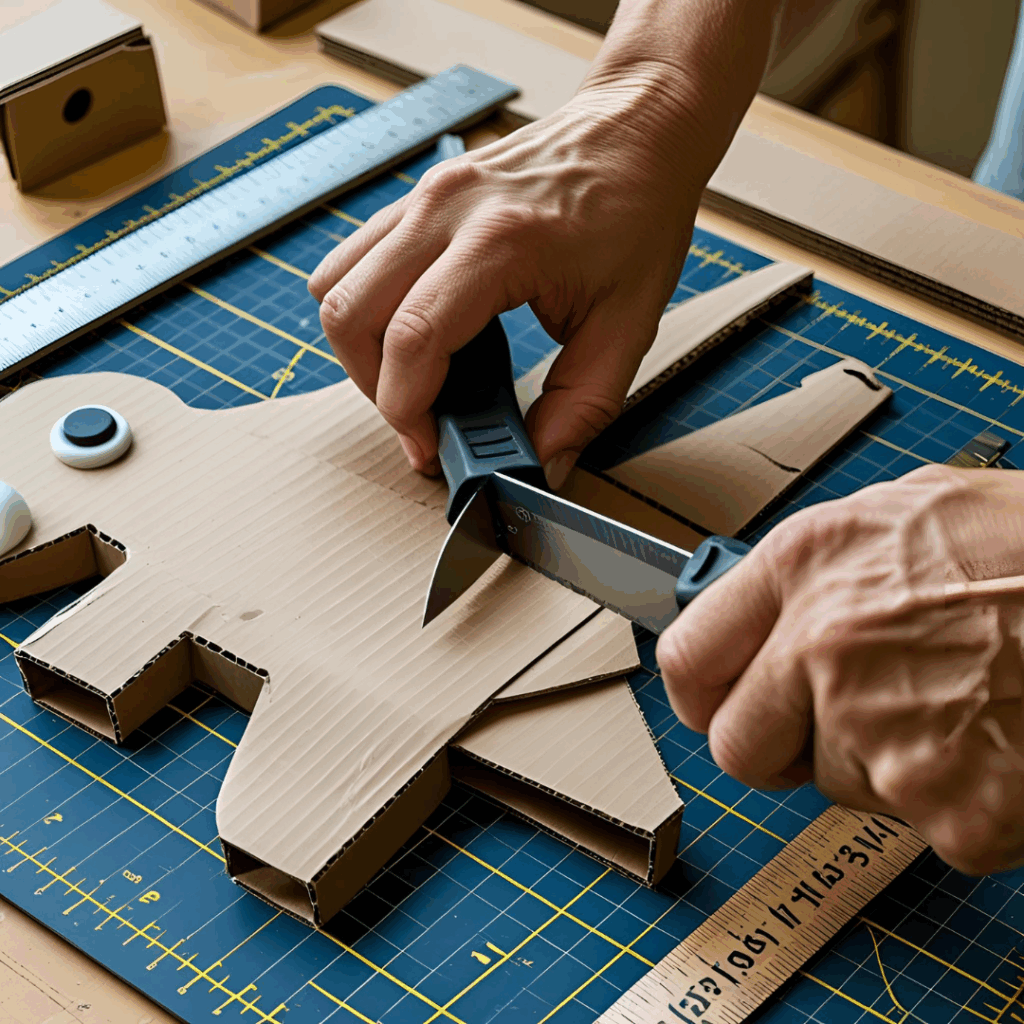
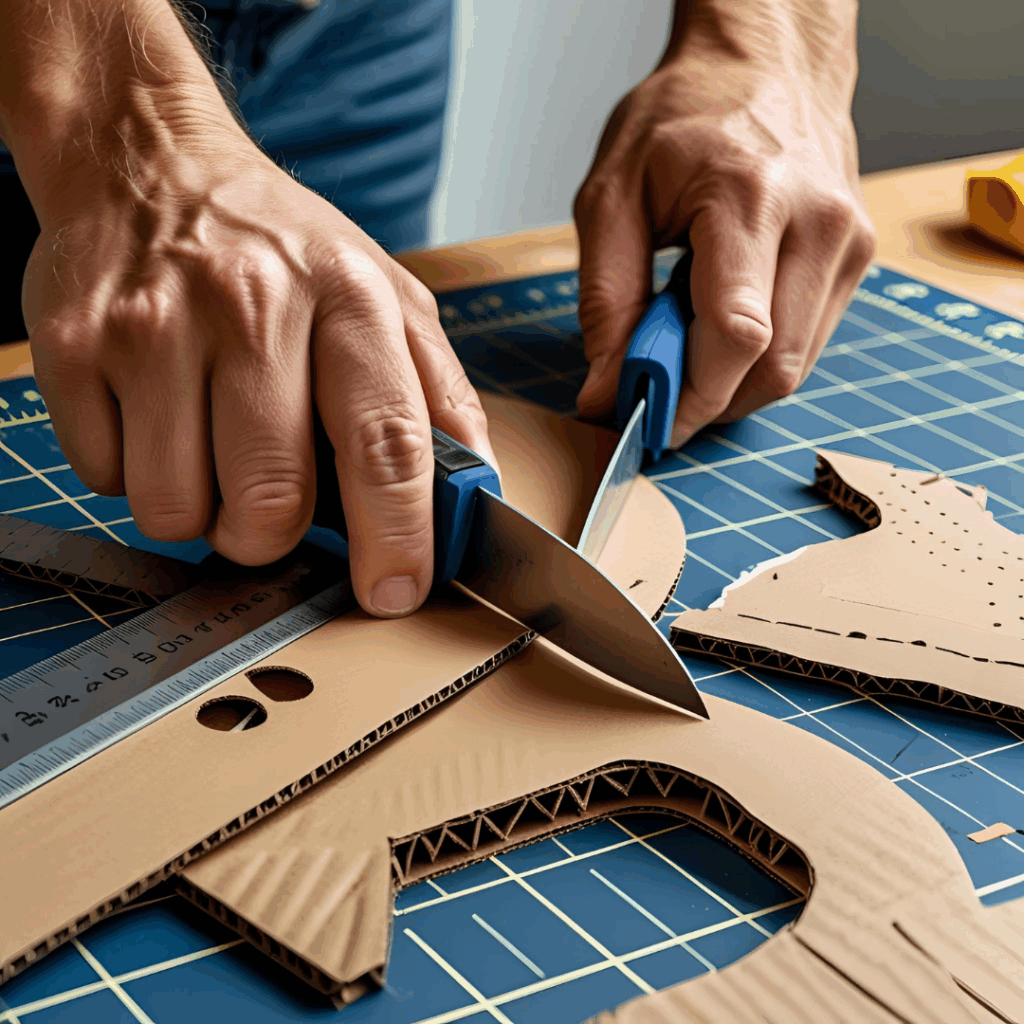
- Craft Knife or Utility Knife: The most important tool. Always use new blades for clean and safe cuts. Dull blades tear the cardboard and can cause accidents.
- Metal Ruler: Essential for straight, precise cuts. Avoid plastic rulers because the knife can damage them.
- Sturdy Scissors: Useful for shorter, rounded cuts where the knife isn’t practical.
- Pencil and Eraser: For marking and sketching.
- Various Brushes: For applying glue and later, paint.
- Cutting Mat/Base: Essential to protect your table and ensure the knife doesn’t slip. A piece of MDF or thicker cardboard can work too.
Glues and Fasteners: The Bond of Your Creation
- White Glue (PVA): My favorite! Dries slowly, allowing adjustments, and creates a very strong bond. Ideal for joining large surfaces.
- Hot Glue: Perfect for quick fixing of smaller parts or to hold the structure while white glue dries. Not the best for large structural bonds.
- Masking Tape: Great for temporarily holding pieces while liquid glue dries.
Paints and Finishes: Bringing Your Art to Life
- Acrylic Paint: Vibrant coverage, fast drying, and easy to clean. Great for most projects.
- Spray Paint: Ideal for larger pieces or to get an even finish without brush marks. Remember to use in a well-ventilated area!
- Matte or Glossy Varnish: Essential to protect your sculpture from moisture, dust, and wear, as well as giving the final touch.

Simple Techniques: Mastering Cardboard Cutting and Assembly
Mastering some basic techniques not only makes the process safer but also elevates the quality and professionalism of your creations.
Precision Cutting: The Secret to a Good Finish
- Always use a cutting mat: This protects your work surface and the knife blade.
- New blade means safety and precision: A dull blade requires more force, increases the risk of accidents, and makes uneven cuts. Replace it regularly!
- Layered cuts (for thick cardboard): Don’t try to cut thick cardboard in one go. Make several shallow cuts, applying gradual pressure each pass. This ensures a clean, safe cut and prevents the blade from “sticking” in the material.
- Use the ruler as a guide: Press the metal ruler firmly along the cutting line and slide the knife along it.
Folding and Shaping: Creating Curves and Forms
- For smooth curves: Lightly moisten the opposite side of the fold with a damp cloth. This softens the fibers and allows for a cleaner curve.
- Score fold lines: With the knife, make a shallow cut (without going through the cardboard) on the line where you want to fold. This creates a “groove” that helps a perfect fold and prevents creasing.
- Use cylindrical objects: Bottles, cans, or PVC pipes are great for shaping rounded parts. Press the cardboard against the object and curve it gently.
Assembly with Structure: Building Strong Pieces
- Plan in layers or sections: Sketch your sculpture and divide it into smaller parts. It’s like a 3D puzzle.
- Start with bigger parts: Build the base and main structures first, then add details.
- Use internal reinforcements: For a more robust and durable sculpture, use strips of cardboard folded in “L” or “U” shapes and glue them inside the joints. This creates pillars and support beams that prevent warping and increase stability. For example, in a box, you can glue cardboard triangles in the inner corners.

Tips for Sculpting Human Forms, Animals, and Objects
Cardboard allows for all kinds of creations—from simple objects to complex sculptures. Here are some tips that helped me a lot:
Human Forms: Challenge and Reward
- Start with a simple skeleton: Think of the basic bone structure. Cut out the main “silhouettes” (torso, head, limbs) and start adding volume from them.
- Use cylinders or blocks for limbs: For arms and legs, cut cylindrical shapes or blocks to form the volume base.
- For the face, create a layered mold: Think of the facial profile and add layers of cardboard to create the depth of the nose, chin, and forehead. My first attempt at a human head sculpture was a disaster! I learned the key is building layers gradually, paying attention to symmetry and using references.
- Finish with papier-mâché (optional): If you want a smoother, more organic look, cover the cardboard structure with papier-mâché (shredded newspaper and white glue).
Animal Forms: From Realism to Abstraction
- Use visual references: Always have photos or drawings of the animal you want to sculpt. Observe anatomy, proportions, and details.
- Model the body with blocks: Think of the animal’s body as large cardboard blocks and add tail, legs, and head separately.
- For feathers or fur: Cut thin cardboard strips and layer them to create texture.
Decorative Objects: Start Simple, Dream Big
- 3D letters, vases, and miniatures: Great starter projects to practice precision and assembly.
- Reinforce the base: To ensure stability of decorative objects like vases or pen holders, make sure the base is sturdy and well glued.
- Creative finishes: Don’t limit yourself to paint! Use fabric collage, decorative paper, or even sand for different textures and finishes.
Project Ideas to Start and Get Inspired
Starting with simpler projects helps develop skill and confidence. Choose one to kick off your adventure!
- Custom Decorative Letters
- A classic! Choose a word or name.
- Draw the letter on cardboard and cut twice (front and back).
- Create side edges with strips of cardboard of the desired height.
- Glue all parts with white glue. Use masking tape to hold while drying.
- Paint and decorate as you like!
- Fun Animal Mask
- Perfect for parties or decoration!
- Draw the mask base on cardboard.
- Cut openings for eyes and nose.
- Model and add ears, snout, and other characteristic details.
- Use elastic or ribbon to hold on the head.
- Miniature Everyday Objects
- Houses, chairs, cars, or robots in miniature are excellent to practice precision and assembling small pieces.
- Plan pieces like a puzzle before assembling.
- Start with bigger parts and add details.
- Finish with paint and varnish for protection.
- Human Head Sculpture (Intermediate Level)
- A more challenging but incredibly rewarding project!
- Build a layered mold of the facial profile (cutting several layers of cardboard with slightly different shapes).
- Use these layers to form the volume of the head, gluing them on top of each other.
- Model facial details (nose, mouth, eyes) using small pieces of cardboard, or papier-mâché for a smoother finish.
Safety Tips: Work Peacefully
Safety is key in any craft activity.
- Keep sharp tools out of children’s reach and always cut away from your body to avoid serious accidents.
- Work in a ventilated area, especially when using spray paint or varnish, to avoid inhaling fumes.
- Use gloves when handling hot glue or varnish to protect your hands.
- Wash your hands after using glue and paint.
- Dispose of used blades and cardboard scraps properly.
Frequently Asked Questions (FAQ)
Can I use supermarket cardboard boxes for sculpture?
Yes, definitely! As long as they’re clean and dry. This type of cardboard is excellent for bigger structures and beginners because it’s easy to find.
Can I paint directly on the cardboard?
You can, but for a more vibrant and even finish, it’s better to apply a white paint base (primer) first. This helps seal the cardboard and prevents it from soaking too much paint.
How do I prevent the cardboard from warping?
Avoid excess moisture in glue or paint. Use internal reinforcements (like the “L” or “U” strips I mentioned) and, when gluing, press pieces with weights (like books) so they dry flat and straight.
Do I need a printer to make the sculptures?
No, you can draw all the templates freehand. However, if you want more precision, printing templates found online can help, especially for complex shapes.
How long do the sculptures last?
If stored well, away from excess moisture and direct sunlight, they can last years! Applying varnish (matte or glossy) after painting helps a lot in preservation and protection from dust and small damage.
Final Thoughts: Your Journey in Cardboard Sculpture
Creating cardboard sculptures at home is an incredibly enriching, accessible, and full-of-possibilities experience. With the right materials, a little practice, and patience, anyone can develop surprising artistic skills and bring unique pieces to life. And best of all: you’ll be reusing materials and contributing to the environment!
Enjoy the detailed tips in this guide, start with simple projects, and evolve over time. Besides being a great way to relax and express your creativity, this art can become a decorative element in your home, a creative gift, and who knows, maybe even a source of income.