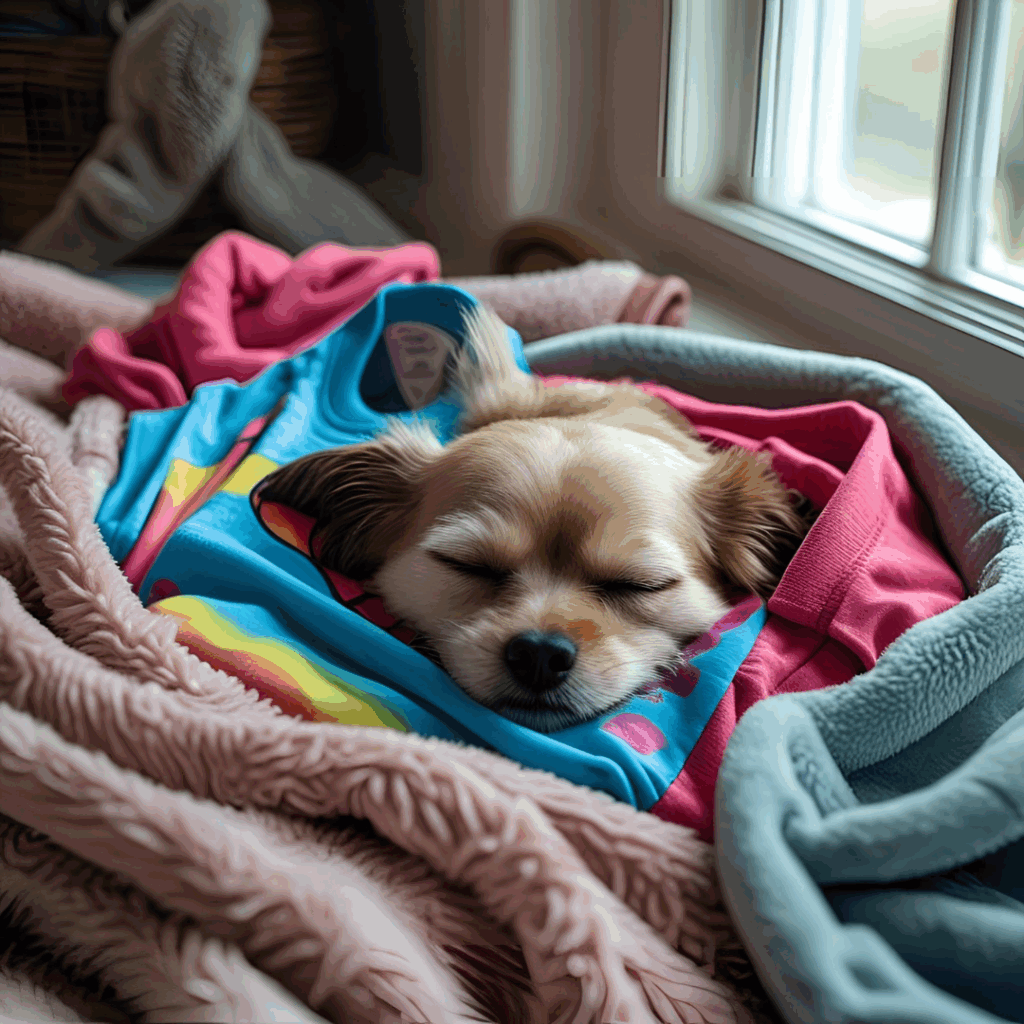
You know that old T-shirt or sweatshirt forgotten at the bottom of the drawer—unused, but full of sentimental value? What if it could be transformed into a cozy, warm little corner for your pet? More than just a creative DIY project, turning an old piece of clothing into a comfy bed is a true act of love—for your pet, for the planet, and of course, for your wallet.
In this complete and easy-to-follow guide, you’ll learn a sustainable step-by-step method to create an irresistible pet bed using something you already have at home. With just a few materials, no complicated sewing, and by using what would otherwise be discarded, this tutorial is perfect for anyone wanting to dive into the world of creative reuse and make a practical difference. Get ready to see your pet purring with happiness in their new bed—and to share this inspiring idea with the world!
Why Make a Pet Bed from Used Clothing?
Besides being an affordable and original solution, this idea comes with benefits that impact your daily life and the environment:
♻️ Sustainability in Practice: Every handmade bed from old clothes is one less item in landfills and one more step toward reducing textile waste. You give new purpose to fabric that’s still in good condition, supporting circular economy practices and reducing fashion industry pollution.
🐶 Love and Security for Your Pet: Your furry friend will love sleeping on something that smells like you and home. That familiar scent offers comfort, security, and helps reduce anxiety, especially in stressful or transitional moments.
🧵 Incredibly Easy to Make: Forget sewing machines or advanced craft skills! This project is designed to be simple and accessible, even for complete DIY beginners. The result will surprise you.
📸 Visually Appealing and “Instagrammable”: The transformation process, the love behind it, and the final result are perfect for sharing. Create video tutorials, Reels, or Pinterest carousels to inspire others to adopt this eco-friendly idea.
Materials You’ll Need
The best part? You probably already have everything at home, making this DIY super budget-friendly:
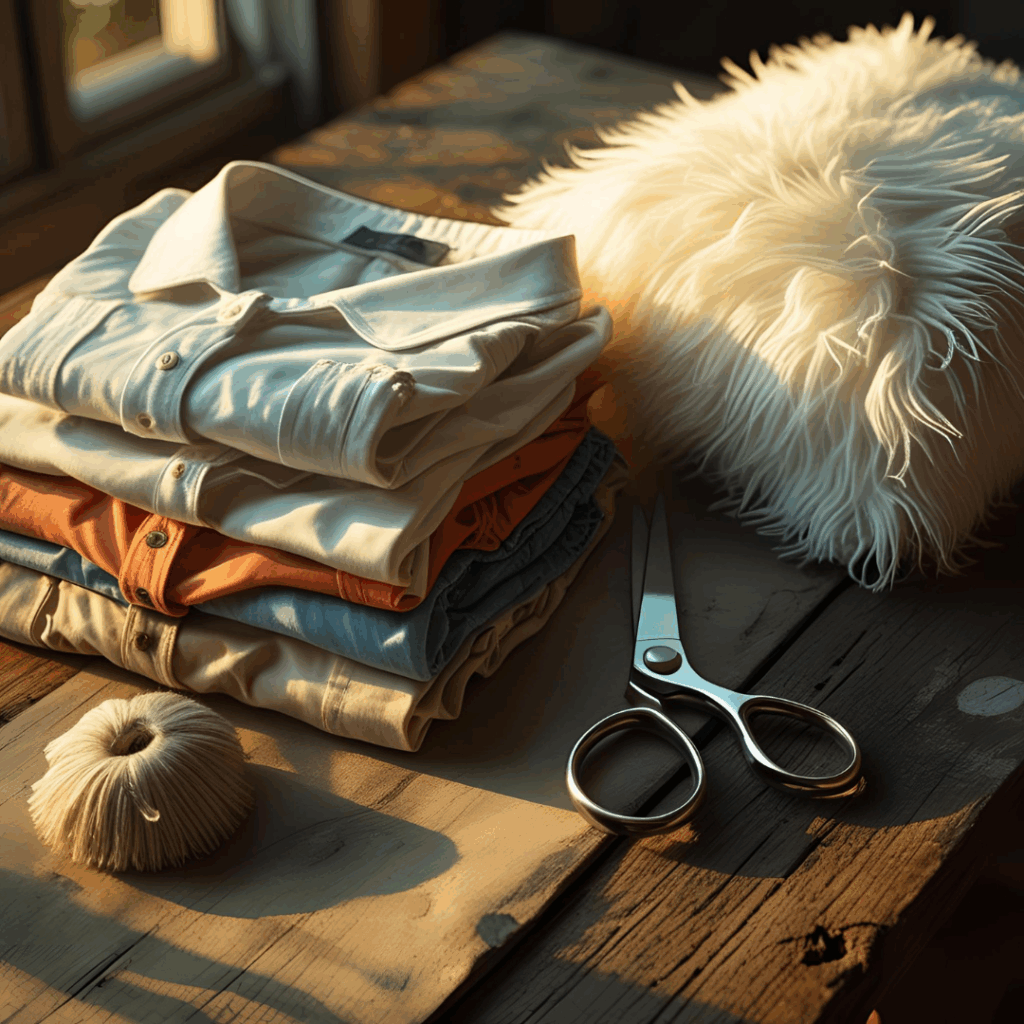
- 1 old T-shirt or sweatshirt: Preferably size Large or XL. Thicker, soft fabrics like fleece, sweatshirt, or quality cotton work best. Avoid thin, worn-out clothes with large holes.
Extra tip: Clothes with pockets can become fun hiding spots for toys or treats.
- 1 old pillow or stuffing: Use a pillow you no longer use, stuffing from old cushions, shredded foam, fabric scraps, or even clean, crumpled plastic bags (great for a lightweight, moisture-resistant option).
- Needle and thread (or hot glue): For those who prefer a more durable version, sewing is ideal. Hot glue also works well for a no-sew option.
- Scissors: For cutting fabric precisely.
- 1 piece of string, ribbon, or fabric strip: Needed to tie and shape the bed.
Step-by-Step: DIY Pet Bed from Old Clothes
Let’s roll up our sleeves and create your pet’s new favorite spot!
1. Choose and Prepare the Clothing
Pick a soft and sturdy piece like a sweatshirt or thick cotton.
Make sure it’s clean and dry. If it has any strong odors or stains, wash it beforehand.
2. Place the Stuffing Inside the Shirt
Turn the shirt inside out.
Place the pillow or chosen stuffing inside the torso section of the shirt. Distribute the filling evenly to form a flat, comfy base.
3. Seal the Sleeves and Bottom Hem
With the shirt still inside out, sew or hot-glue the bottom hem (waistline) shut. Use firm stitches or a generous amount of glue to seal it well.
Next, close the sleeves completely by sewing or gluing them shut. These will become the raised edges of the bed.
4. Shape the Cozy “Nest”
Turn the shirt right-side out.
The torso will now be a central cushion, and the sleeves will extend to the sides.
Fold the sleeves around the torso to form an arch, bringing the sleeve ends together in front to create a round “nest” with raised sides.
Tie the sleeve ends together with string or a fabric strip. This forms a soft headrest and surrounding structure for your pet.
5. Final Adjustments and Personalization
Adjust and mold the stuffing so it fits snugly into the nest shape, making it even cozier.
Optionally, stitch the pillow into place inside the shirt to prevent it from shifting.
Make it personal:
- Sew colorful fabric scraps or pieces from other old clothes onto the bed.
- Embroider your pet’s name or use non-toxic fabric paint to add paw prints.
- Attach small safe toys or chewables to the bed’s edges.
Extra Tip: Super Easy No-Sew Version
If you want a fast, no-skills-required version, try this:
- Use a large, cozy sweatshirt.
- Fill the sleeves and torso with your chosen stuffing (fiberfill, fabric scraps, etc.). Distribute evenly.
- Fold the sleeves around the torso and tie them tightly using the ends of the shirt or string, forming a donut-shaped bed.
- Adjust the shape — and done! Your pet has a new comfy corner in minutes.
Optional: Make a DIY Tutorial Video for Extra Engagement
Want to inspire others and grow your reach? Create a quick, upbeat video tutorial. Film the transformation process with your phone and post on TikTok, Instagram Reels, or YouTube Shorts. Highlight the before/after and add fun music!
Benefits for Your Pet and the Planet
Spending time on this project is more than a hobby — it’s a real act of care:
- Familiar Scent Comfort: Your scent helps calm your pet and provide emotional security.
- Reduced Textile Waste: One less item in the landfill, one more step toward a cleaner planet.
- Budget-Friendly Love: A pet bed that’s sustainable, high-quality, and made with love—without spending a dime.
- Creative Fun: A great bonding activity for kids and adults that teaches environmental responsibility and hands-on creativity.
How to Care for Your Handmade Pet Bed
To keep it clean, hygienic, and long-lasting:
- Hand wash or use the delicate cycle on your machine, if the materials allow. Use gentle soap.
- Let it dry completely in the sun to avoid mold or odors.
- Check regularly for loose seams or worn areas. Make small repairs as needed.
Make More Than One and Involve the Whole Family
The beauty of this DIY is its repeatability! Make multiple versions:
- One that matches your living room.
- A lightweight one for travel.
- A cozy hideout for shy cats.
This project is also a great family activity, especially for teaching kids about reuse, caring for pets, and sustainable creativity.
Bonus tip: Document each transformation with before-and-after photos. Start a fun “eco-friendly pet furniture” photo album—you might just start your own little green pet collection!
Start Now: Grab an Old Shirt and Create Something Beautiful
Turning an old T-shirt into a warm, affectionate bed for your pet is a simple, powerful way to combine purpose, love, and sustainability. Plus, seeing your furry friend enjoying something you made with your own hands is one of life’s most rewarding feelings—it’s worth every stitch or drop of glue!