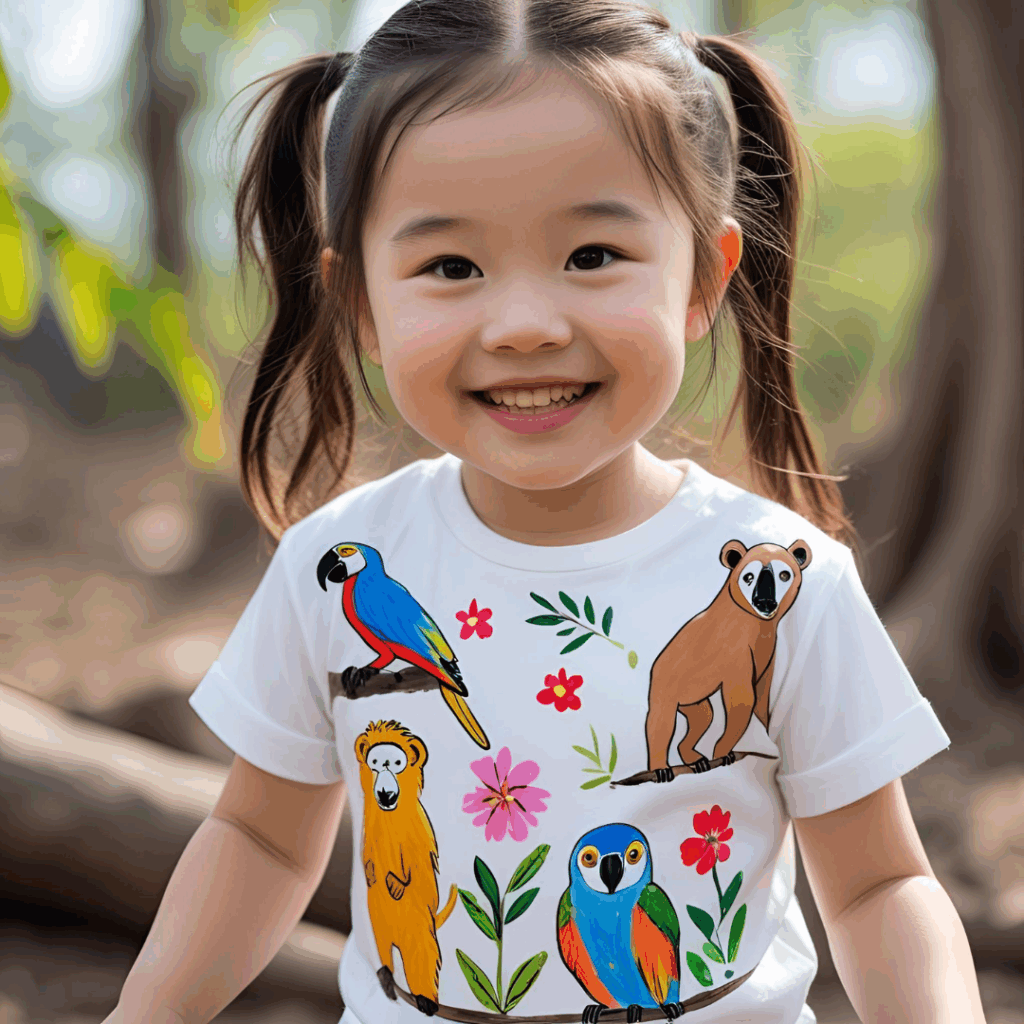
Transforming a simple piece of clothing into a unique, educational, and sustainable item is a powerful way to combine art, affection, and environmental values. Hand-painting a forest-themed outfit is not just a DIY project—it’s an important step towards building a childhood more connected with nature and conscious practices.
In this comprehensive guide, you’ll learn everything to create a unique and meaningful piece for your son or daughter. We offer tips on safe materials, painting techniques, the importance of the designs, and ways to expand environmental learning during this fun family activity.
Why Make a Hand-Painted Forest-Themed Outfit?
This activity goes far beyond simple customization. It offers amazing benefits:
- Promoting Sustainability Early On: By customizing and giving new life to basic clothes, you reduce excessive consumption and premature disposal. This conscious attitude lowers the environmental impact of the textile industry, one of the biggest polluters in the world.
- Stimulating Creativity and Motor Skills: Hand-painting is excellent for child development. It improves fine motor coordination, concentration, the ability to express ideas, and create something original—essential childhood skills.
- Creating an Emotional Bond: When parents and children create together, the clothing becomes a symbol of love, care, and shared memories. This piece holds much more emotional value than something bought ready-made.
- Teaching About the Forest and Conservation: Painting trees, animals, and nature elements helps the child absorb information about the ecosystem in a playful way. It awakens curiosity, empathy, and deep respect for the environment.
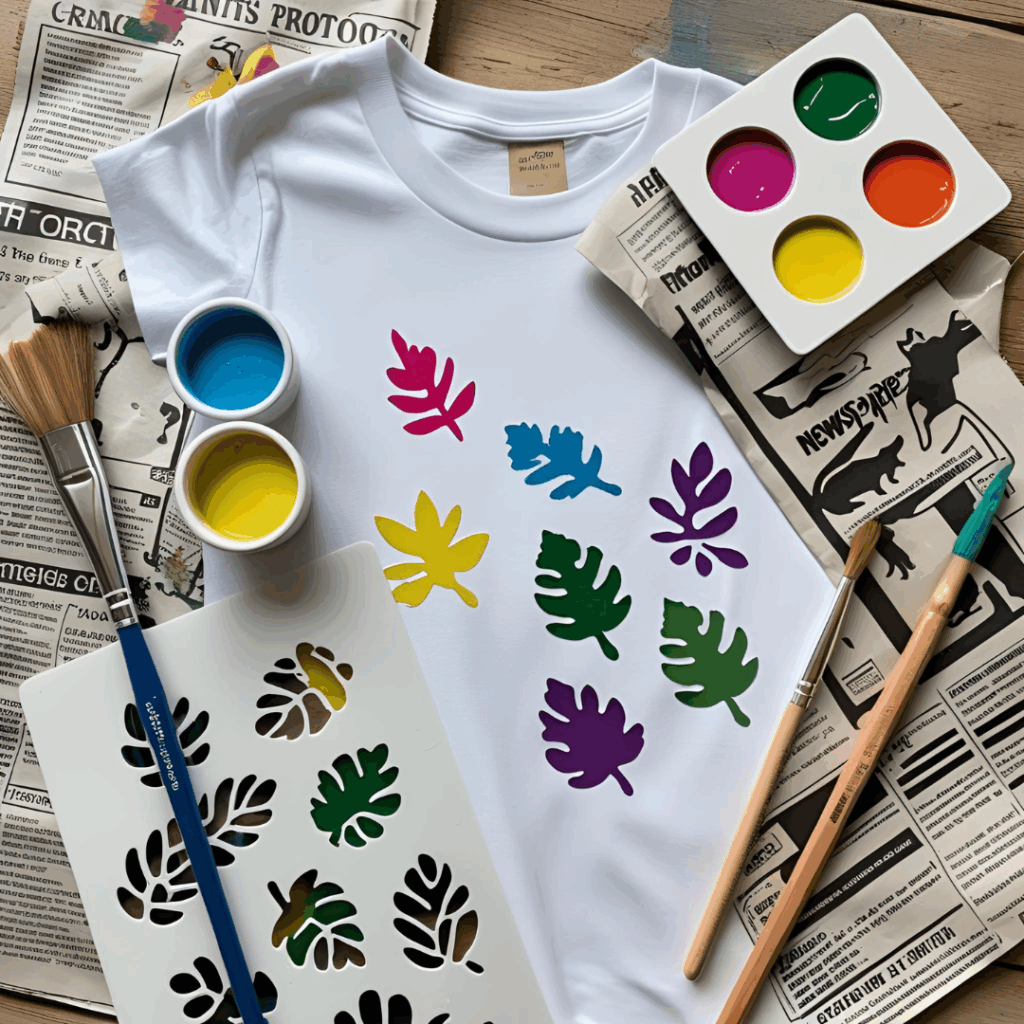
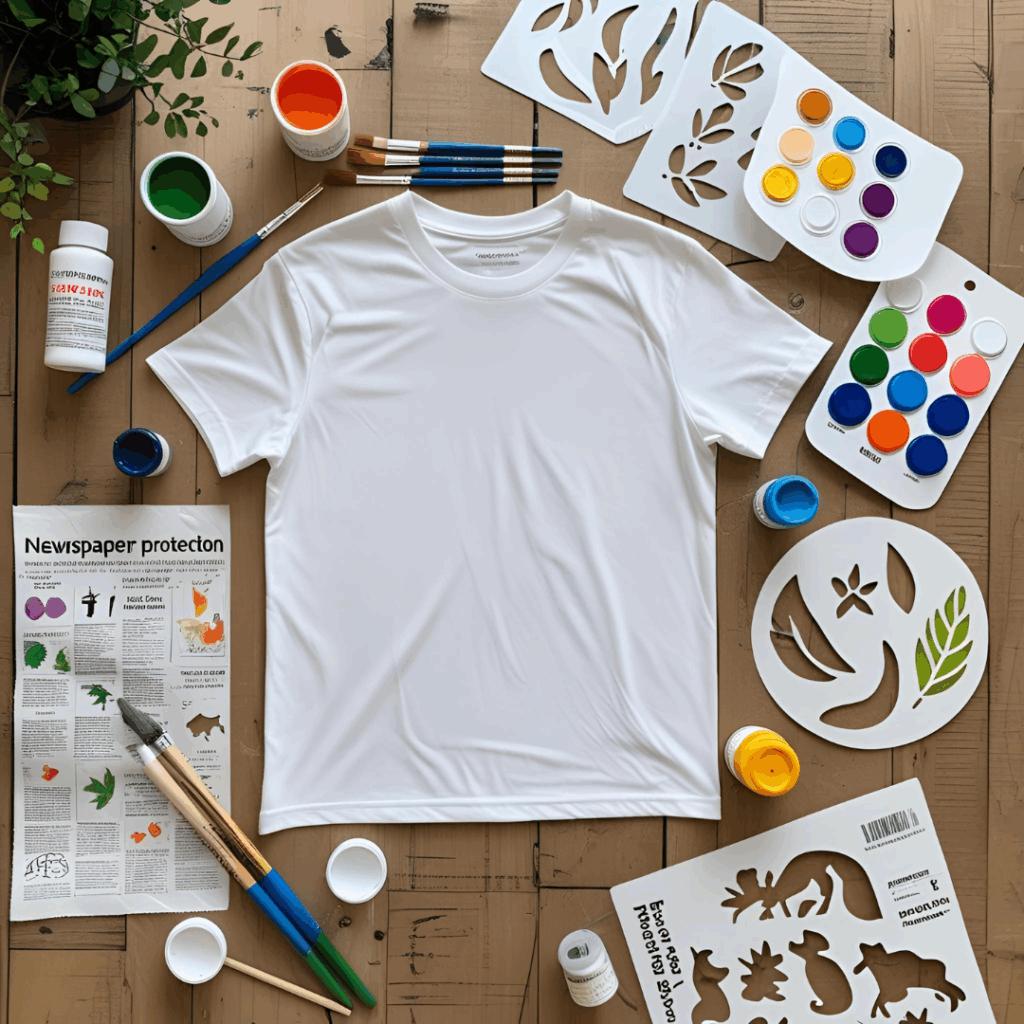
Materials for a Successful DIY Project
To ensure safety, quality, and durability of your creation, carefully select materials:
- Base Clothing: Choose a white or light-colored T-shirt, bodysuit, or romper. Prefer pieces made from 100% organic cotton, which absorbs paint better and is gentler on the child’s skin.
- Non-Toxic Fabric Paints: Always choose fabric paints that are non-toxic and safe for children. Check the label to ensure they contain no harsh solvents. Acrylic fabric paints are usually a good option.
- Varied Brushes: Have a set of small, medium, and large brushes for details, outlines, and bigger areas.
- Palette or Plate for Mixing Colors: Essential for creating custom tones and gradients.
- Fabric Pencil or White Chalk: To lightly sketch the design before painting, allowing for corrections.
- Optional Stencil: For those less confident with freehand drawing, paper or plastic molds of leaves, animals, and trees can be very helpful.
- Newspaper, Cardboard, or Plastic: Place inside the clothing to prevent paint from bleeding through to the other side.
- Paint Fixative (if necessary): Some manufacturers recommend heat-setting the paint with an iron (after drying) to fix the colors better. Check your paint’s instructions.

Step-by-Step Guide to Creating Your Hand-Painted Forest Outfit
Follow these steps for an amazing and purposeful result:
- Prepare the Piece: Wash the clothing to remove any fabric softener or residue. Iron it to remove creases that could make painting difficult.
- Protect and Organize: Place newspaper or cardboard inside the outfit to protect the inner side. Organize your workspace with all materials within reach.
- Research and Inspiration: Dive into the forest theme! Look for images and information about the forest you want to portray. Choose themes such as:
- Brazilian endangered animals: like the golden lion tamarin, Spix’s macaw, giant anteater.
- Flora elements: trees, fern leaves, typical flowers of the biome.
- Natural scenes: waterfalls, trails, blue sky with birds.
Explain these elements to the child to make the project more educational and meaningful.
- Initial Sketch: Use fabric pencil or white chalk to lightly draw on the clothing. Beginners can use stencils to outline basic shapes and then fill them in.
- Paint Larger Areas: Use a larger brush to paint bigger sections like trunks, tree canopies, and background landscapes. Use smooth strokes to avoid paint buildup.
- Add Details and Textures: With fine brushes, add life to your creation: eyes and spots on animals, leaf veins, flower details, and outlines. Use layers of paint to add depth and texture, alternating light and dark colors.
- Optional Educational Messages: Add short, impactful phrases to reinforce the environmental message, such as:
- “Protect the forest”
- “Friends of nature”
- “Every animal matters”
Use simple, colorful, and large letters that are easy for children to read.
- Drying and Fixing: Let the piece dry at least 24 hours in a well-ventilated area. To fix the paint, follow the specific instructions on your product packaging. Usually, ironing on a hot setting (no steam) for a few seconds over the painted area (with a protective cloth between iron and fabric) helps fix the colors better.
Extra Techniques to Enhance Your Painted Outfit
Want to take your creation to the next level? Try these techniques:
- Gradient Effect: Mix colors on the palette or directly on the piece to create smooth transitions like a sunset sky or forest foliage.
- Sponge Textures: Use a sponge cut into leaf or flower shapes to stamp interesting patterns on wet paint.
- Homemade Stamps: Cut simple shapes from rubber or EVA foam (after drawing with a pen) to create custom stamps of leaves, fruits, or small animal footprints.
- Paint and Water Mix: Apply paint and before it dries, spray a bit of water to create watercolor-like, fluid effects.
Ideas to Expand Learning and Fun
Painting is just the start! Combine this activity with other experiences:
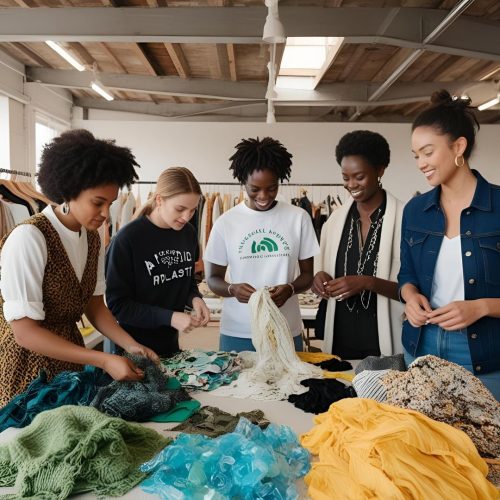
- Organize a DIY workshop with other families or at school, sharing learning and fun.
- Pair painting with reading children’s books about forests, animals, and conservation.
- Take a trip to a nature reserve or ecological park to observe the forest up close, connecting the drawing to reality.
- Record videos of the process to document the steps, share on social media, and teach others how to make their own conscious outfits.
Lasting Benefits for the Child and the Planet
Besides a personalized and affectionate piece, this project offers lasting outcomes:
- Stimulates love for nature and ecological awareness from an early age.
- Encourages reuse and conscious consumption—crucial values for the future.
- Develops artistic and cognitive skills in a fun way.
- Strengthens emotional bonds between parents and children through joint creation and quality time.
Care Tips to Preserve Your Hand-Painted Outfit
To make sure your art lasts a long time:
- Wash by hand or on a gentle machine cycle, always inside out to protect the paint.
- Use mild detergent and avoid bleach or harsh chemicals.
- Avoid strong spinning to preserve the painting and fabric integrity.
- Dry in the shade, inside out, to prevent sun fading.
Creating a hand-painted forest-themed outfit is an experience that goes beyond fashion: it’s an act of love, education, and commitment to the future. Every brushstroke holds the potential to transform not only the clothing but also the child’s view of the natural world and its importance.
🌳✨ Start this colorful and conscious journey today, and inspire new generations to wear values that truly matter, building a greener and more vibrant future!